Step 21
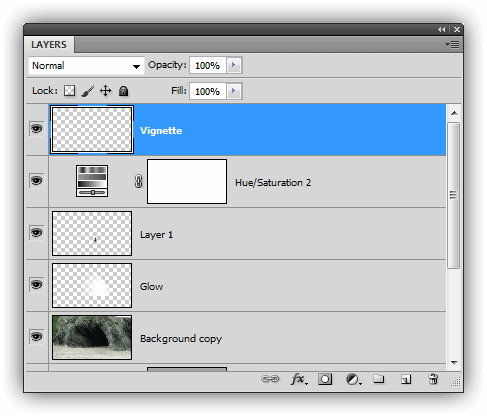
Now we’re going to add an organic vignette. Create a new layer and name it Vignette. Make sure it’s the top layer.
Step 22
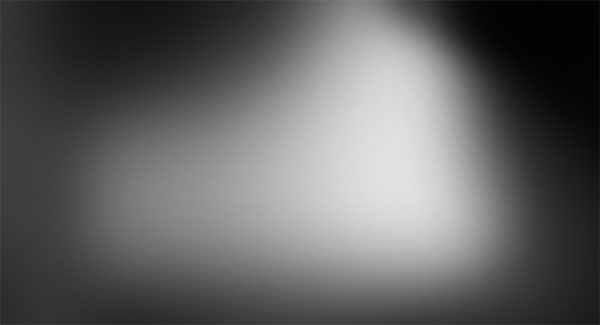
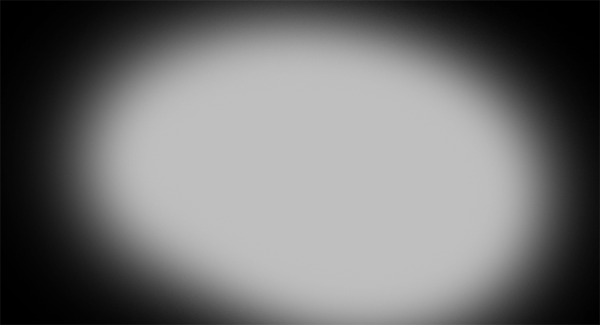
Select the Brush tool, and using a soft brush at 50% opacity, paint around the areas that you want to darken. Paint multiple times to make the areas darker. Remember to cover up the top right corner where there was a white spot.
Here’s the areas that I painted.
Step 23
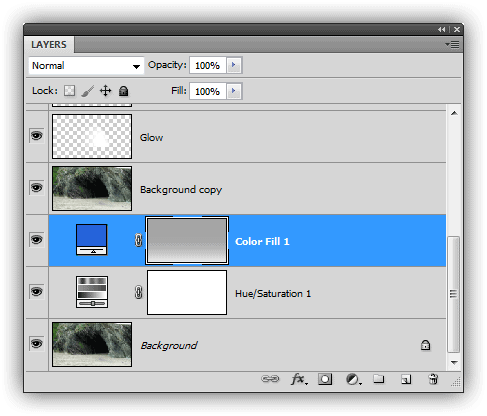
Create a new layer and name this layer “Glowâ€. Set the blending mode to Overlay.
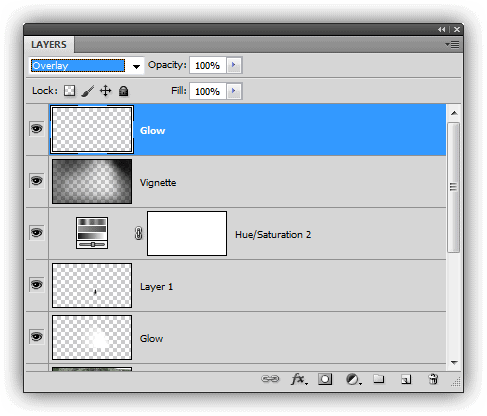
Step 24
Paint with a soft white brush at 75% opacity around the middle to make it glow.
Here’s the areas that I painted.
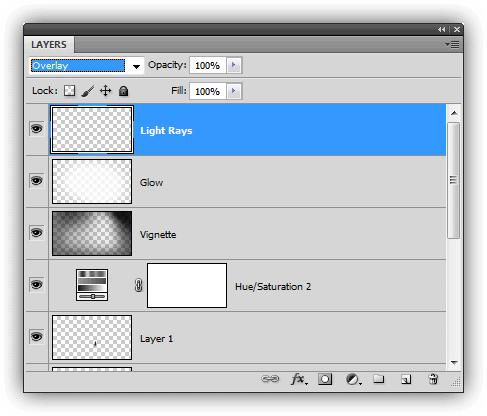
Step 25
Create a new layer and name it “Light Raysâ€. Set the opacity to Overlay.
Step 26
Go to Filter > Render > Clouds. You’ll get some clouds like this:
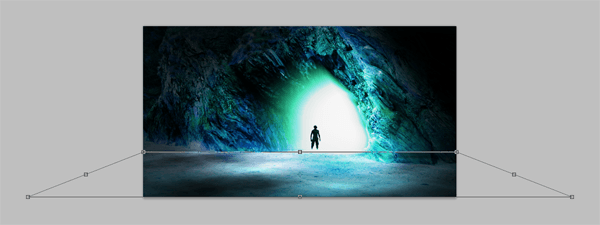
Step 27
Go to Edit > Free Transform. Scale the layer like the image below. You can stretch the bottom corners by holding down the Ctrl+Alt key (Cmd+Alt on a Mac) and dragging one of the bottom corners outwards.
Step 28
Right-click on the Light Rays layer then click Blending Options. In the “Blend If†area, drag the black slider to the middle.
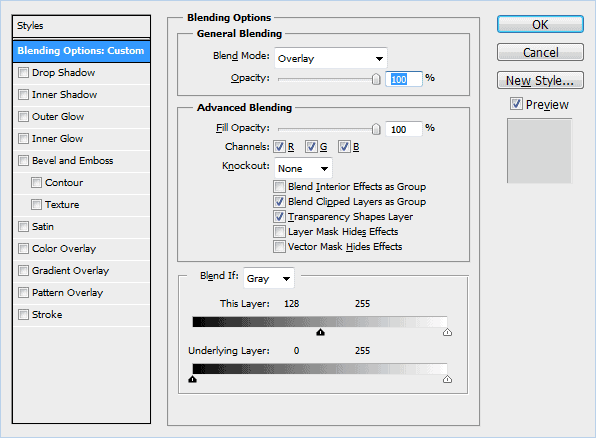
Now hold down the Alt key and drag the right-half of the black slider. It will detach when you drag it. Position the detached part like shown in the image below. Click OK to apply the blending.

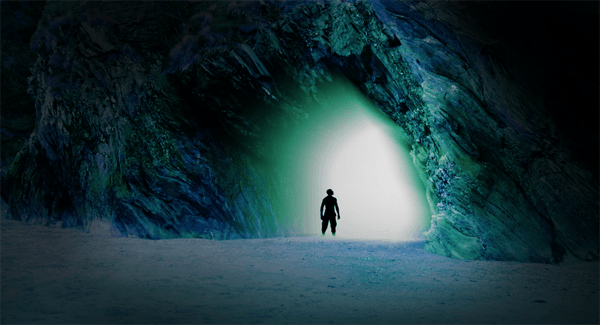
Here’s what it looks like now:

Step 29
Select the Eraser tool and, using a soft-edge brush, erase the top edge of the Light Rays layer to remove any hard edges.

Step 30 – Optional step
Want more blue in your image? Go back into the layer mask of the Color Fill layer. Click on the thumbnail of the layer mask to select it.
Go to Image > Adjustments > Levels. Drag the middle slider towards the left to add more cyan to your image. You can also drag it the opposite way to remove the cyan tint if you want.

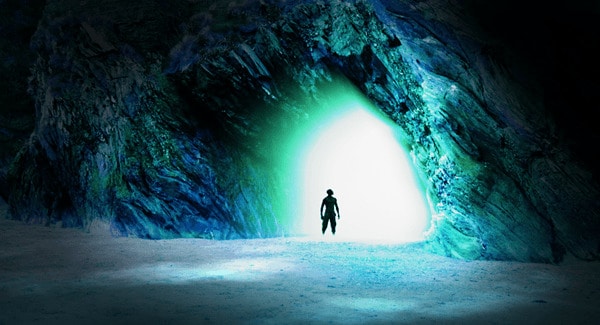
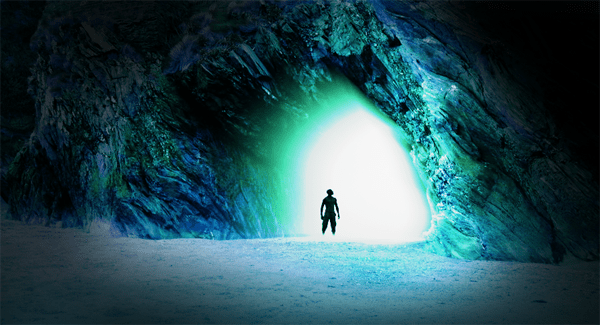
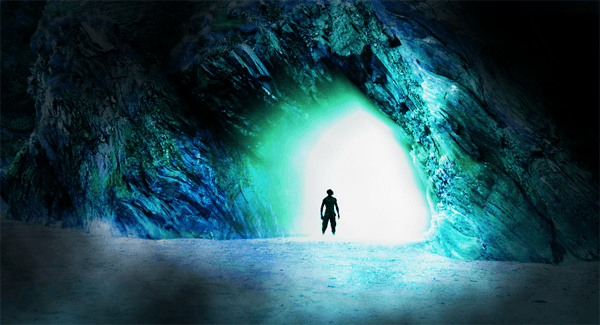
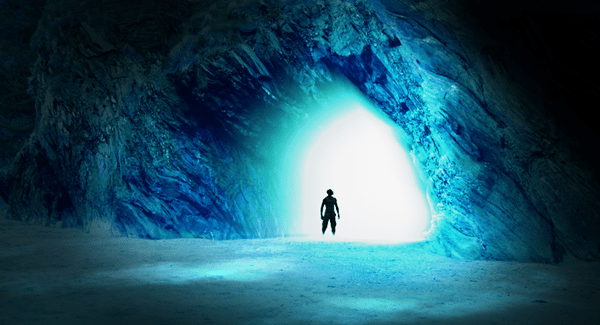
Final Results

Blue version:
Cropped:

wow....great
Is there any main difference between Photoshop 7 and CS6? Will your provide a photoshop tutorials for both the platform to clear mind of many beginners.